OpenStack is open source software that allows companies to create public or private clouds. It’s one of the most popular, if not the most popular, implementations of cloud today. To see more about the conceptual architecture, check out this page.
In this article, I’m going to concentrate on installing it in my home lab using one of the automated scripts they have available. I’m running VMware ESXi to deploy the virtual appliance, but most hypervisors should work. You can also follow the documents found here for more installation background.
Installation Instructions
Start off by downloading the Ubuntu 12.04 ISO file and create a new VM on your hypervisor using the ISO. Since this is for a lab environment, I left most of the defaults for Ubuntu 12.04. I also left it as the base install. Anything that needs to be installed we can do later.
Login and change to the root user by typing:
Sudo su –
Then type your password
To download and install git type:
Apt-get install git
You need to download and install the devstack in order to get the necessary components for OpenStack. To download and install the devstack type:
git clone git://github.com/openstack-dev/devstack.git
cd devstack; ./stack.sh
You will need to enter a password to use for the Database, Rabbit, Service Admin Token, Service Authentication, Horizon and Keystone. You can see definitions of these components here. The script will actually run as a non-root user called stack, which it creates automatically. So you don’t need to actually be logged in as root if that concerns you. You can read more about what this script does here.
Sign in, Dashboard & User Setup
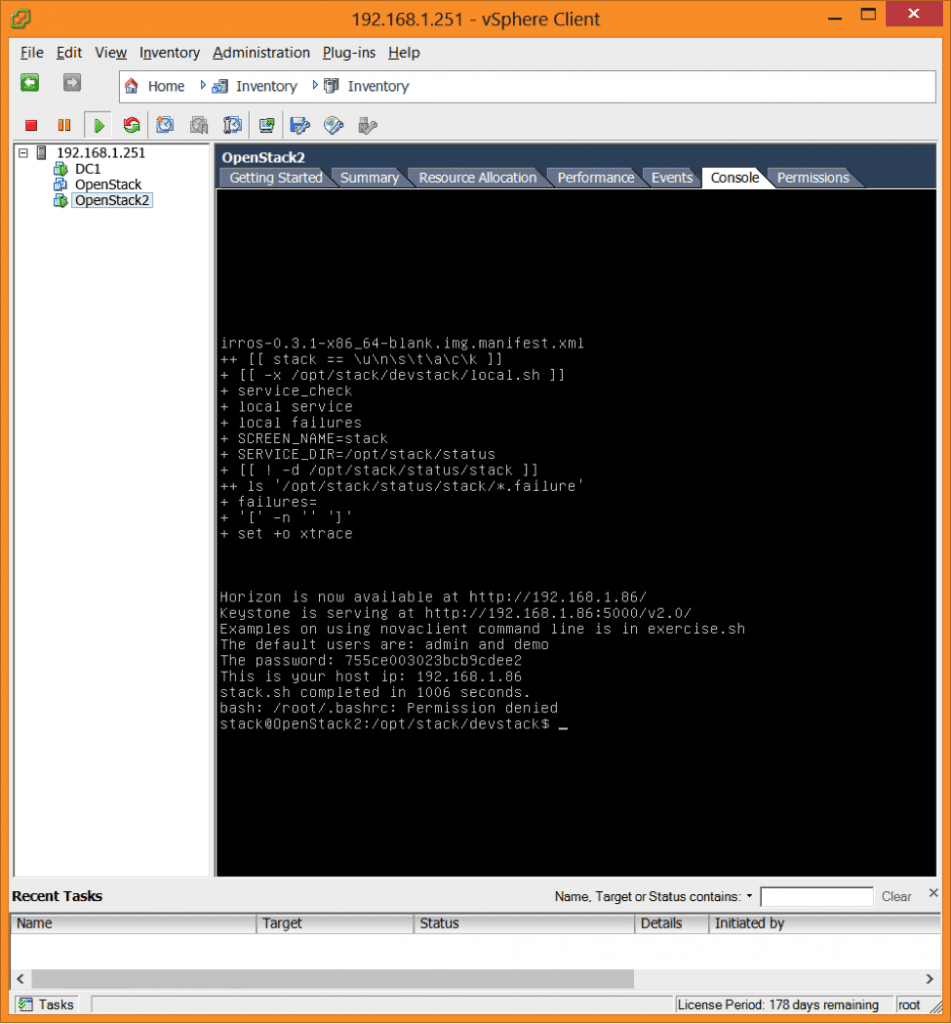
When the script is done you end up with this:
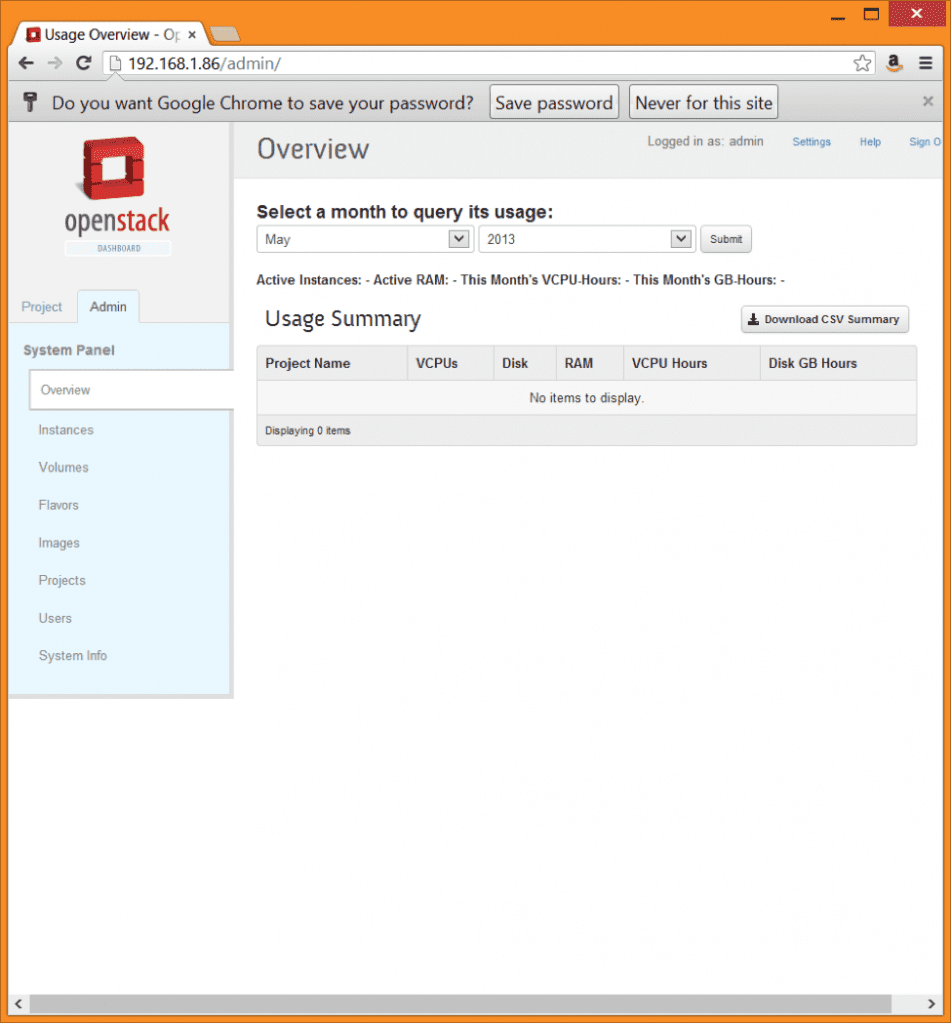
As you can see, it tells you where you can sign on to the dashboard (or Horizon as it is referred to in the CLI. It also tells you how to sign in and get to the rest of the components. You can see the dashboard below:

To change your password, while logged in as admin, click on the Settings link at the top right. Click on Change Password. Enter your old password, the one given to you at the end of the script, and then enter your new password and confirm it.
To change the passwords for other built-in users or just edit users in general, go to the Admin tab (as shown above) and click on Users. Click Edit next to the Admin user, change the password and enter a primary project. Then click Update User. You can edit your current password while logged in here, but you’ll need to logout and log back in using the new password.

Start Configuring
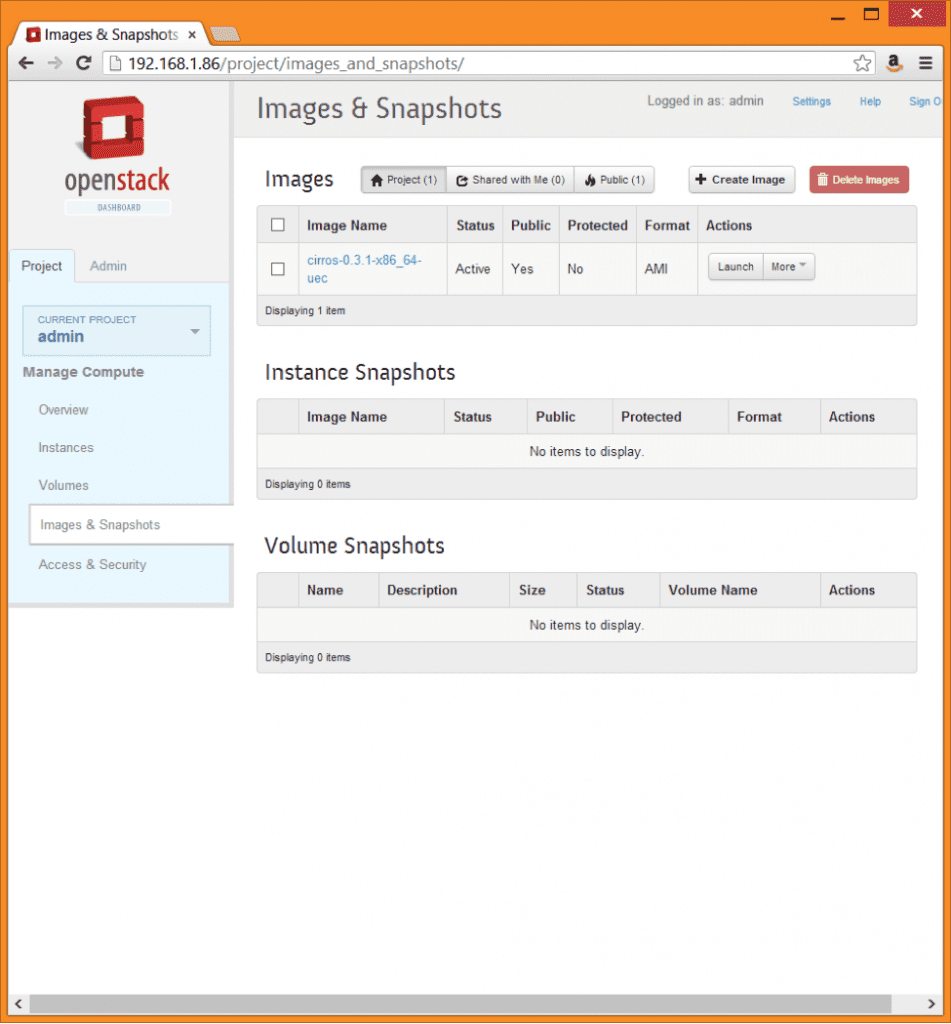
At this point, OpenStack is actually installed. You can start configuring your cloud by going to the Project tab and clicking on the Overview, Instances, Volumes, Images & Snapshots, and Access & Security tabs. Under the instances tab you’ll see an image already in there, which is CirrOS (see picture below). CirrOS is a “tiny cloud guest” (https://launchpad.net/cirros). You can add other images from other operating systems in here as well.
Concluding Thoughts
That installation was really easy. Configuring the projects could get complicated depending on what you’d like to do. It is also suggested that you install NTP to keep all the services in sync. I would read more about design and concepts before implementing this in any sort of production environment. In a future post, I will go through creating an actual private cloud in my home lab.


