B2B Lead Generation Services
Helping technology marketers reach the right buyers, generate demand, and drive pipeline.
Explore All →


Who We Serve
Helping technology marketers connect with the right buyers in competitive markets.
Explore All →


RackSpace is a cloud provider that runs everything using OpenStack cloud software. Their software, OpenCenter, makes deployment easier. In this article I'll run through the initial install. The download is free.
They recommend that you deploy this using either three physical servers, or one physical server with two VMs. The OpenCenter server and Chef server both require 16GB of RAM, 60GB of Disk Space and 4 CPUs. The OpenStack controller node should have 16GB of RAM, 144GB of disk space, and 4 CPUs.
Let’s get started by grabbing the download. You will receive an email with links and instructions. I’m starting with two Ubuntu 12.04 server VMs to run the scripts described in the email. Later we will create more VMs to use as agents in our Nova Clusters. In their documentation they recommend running this on KVM. Most likely they’ve made this recommendation because KVM is also open source. It should work no matter which hypervisor you’re using, though.
To get started, type:
curl -s -L http://sh.opencenter.rackspace.com/install.sh | sudo bash -s - --role=server
The curl command is in linux to get files from http or ftp sites. So in this case we’re getting the install.sh script from RackSpace.
You will receive the following message:
Next type:
curl -s -L http://sh.opencenter.rackspace.com/install.sh | sudo bash -s - --role=dashboard --ip=<OpenCenter-server-IP>
(The IP is that of the server you’re working on.) This will install the GUI for OpenCenter.
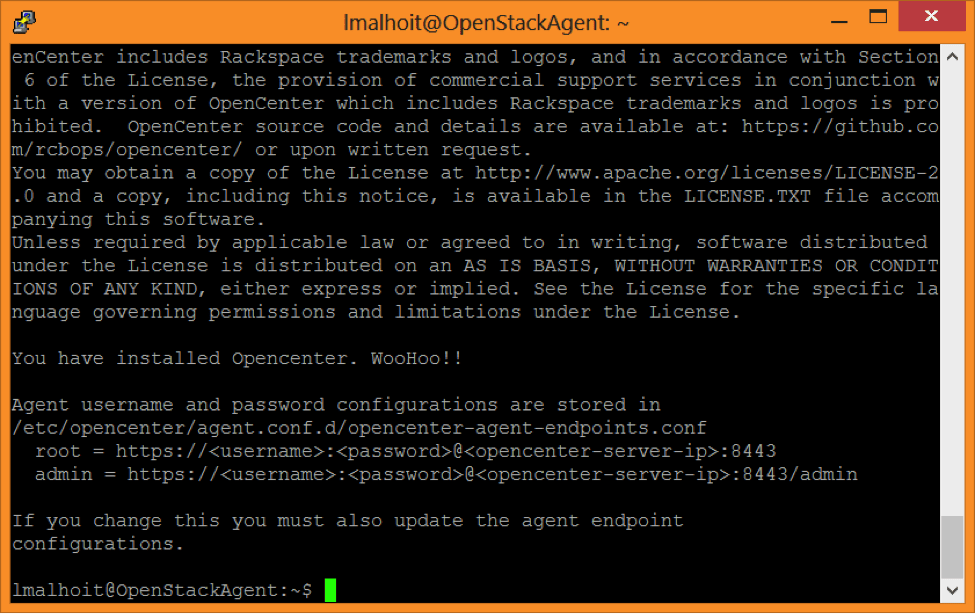
Type:
curl -s -L http://sh.opencenter.rackspace.com/install.sh | sudo bash -s - --role=agent --ip=<OpenCenter-server-IP>
(Here the IP is that of the OpenCenter server you installed in the previous section.)
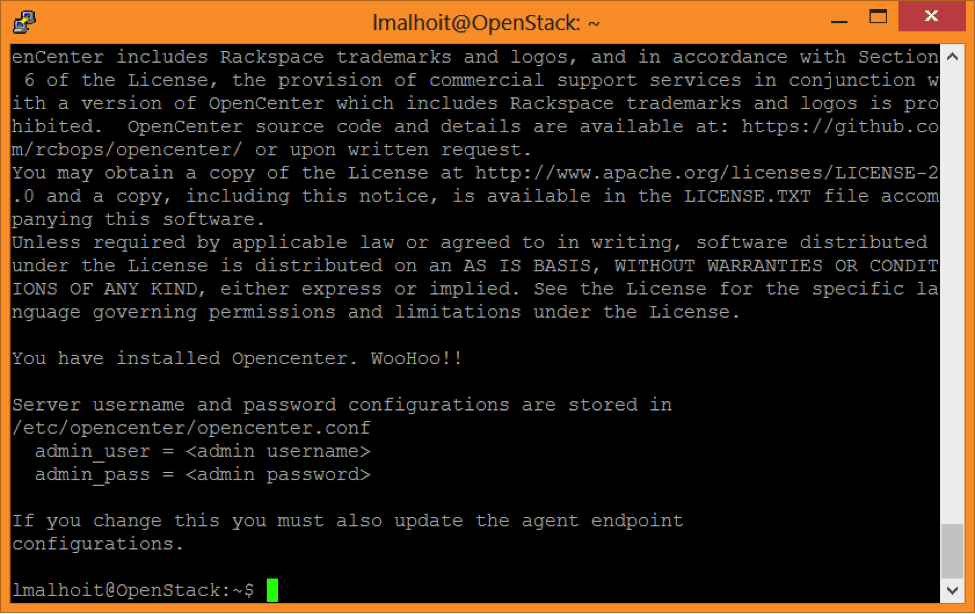
When you’ve run the script you should see this output:
Before we sign in to the web UI we need to find our admin username and password.
Back on your OpenCenter server type:
nano /etc/opencenter/opencenter.conf
(To view the config file where the credentials are stored.) Arrow down to the bottom and you’ll see it there. So now we can sign in to our web UI by going to the IP address of the OpenCenter server (ex: https://192.168.1.93). See picture below for view of the default screen:
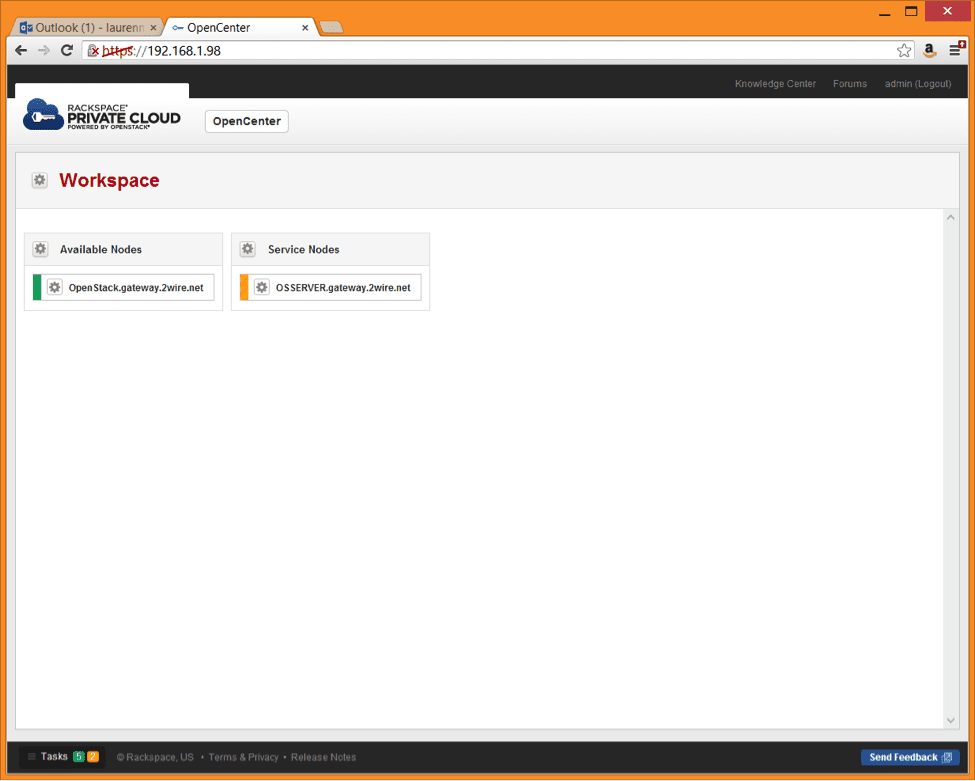
You can see in the picture that I have one available agent node, called OpenStack, and one Service Node, called OSServer. If you hover over the nodes it will show you the ID, status, current task and last task. You can also click on the cog to install Chef Server or Update the agent.
On the server node both those options are available as well as Update Server. The first thing we need to do is install the chef server. So click on the cog on the agent node and click on Install Chef Server. You will see the tasks start to run at the bottom. You may need to click the Tasks button to get a full view.
Now that you’ve installed Chef you’ll be able to click on the cog next to Workspace and click on Create Nova Cluster. It would ask for additional input such as IP addressing, NAT information, cluster name, etc. You can hover over each field to get a description of it. Fill this information out and click Submit. Make sure you enter the correct Admin password in the Admin password field. This will create a NovaCluster as shown below:
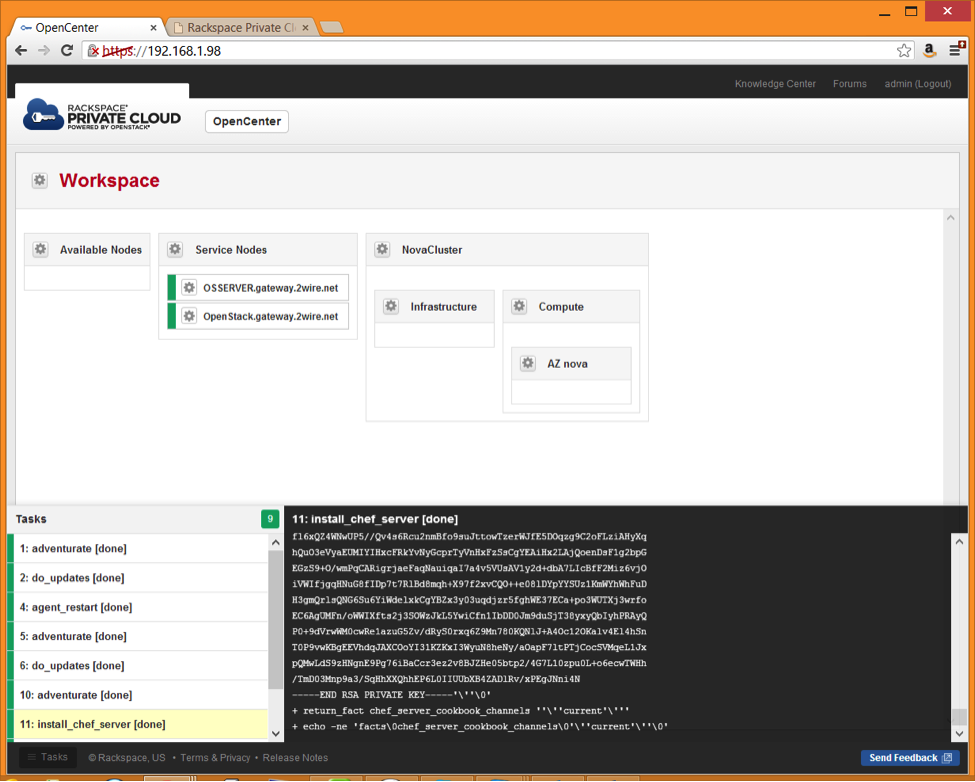
To add nodes to the nova cluster you now need to create another agent as I did in the beginning of this tutorial on the third VM. You can then drag and drop this available node into your nova cluster. This will automatically install chef on that node as well as run chef to install various OpenStack components and demo projects and users. This can take several minutes. You’ll do the same thing to add a node to the AZ Nova area as well. This will be your compute node.
At this point we can sign in to the controller node (the first node put in the cluster) to get to the more familiar OpenStack dashboard where we can create projects, add instances, view statistics, etc. We can create as many Nova Clusters as we want by doing the same steps over (creating a new nova cluster and adding nodes).
You can get to the dashboard by typing in the following as shown in the window below:
http://<IP_of_controller_node>
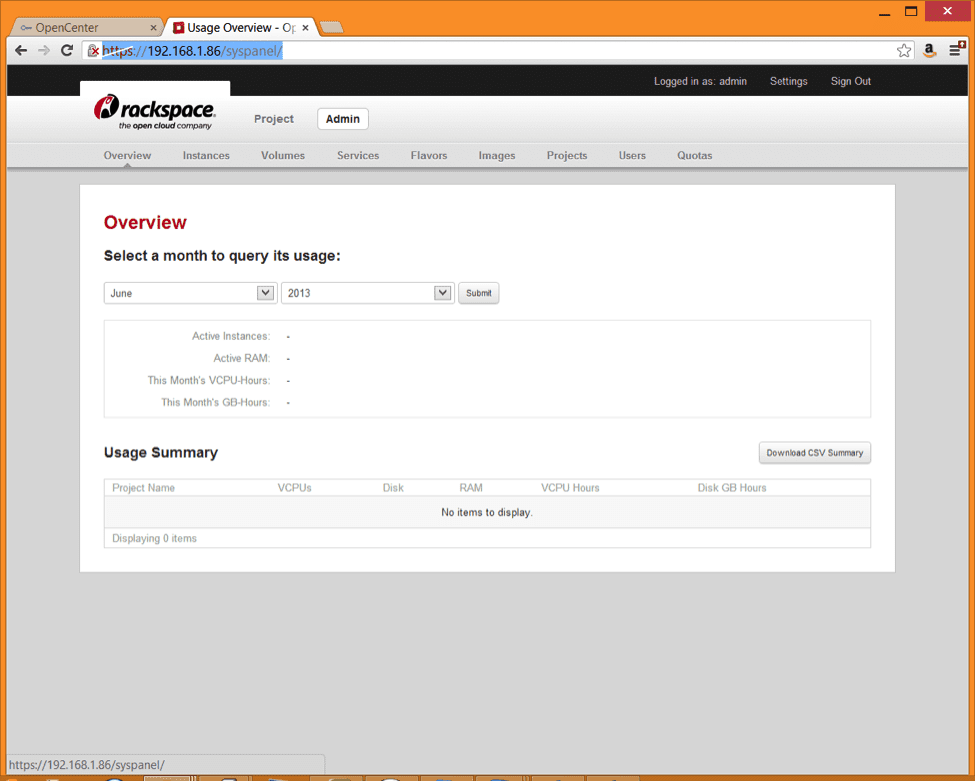
For more information on OpenStack in general check out http://OpenStack.org and for more information on getting started with RackSpace and their private cloud check out their knowledge base.